Bright, clean light fixtures can transform a room, making it warm and inviting. Over time, dust and grime accumulate, dimming the light and the atmosphere.
To ensure your home shines in the best light, regular cleaning of these fixtures is key. Dirt and dust dull your light fixtures, robbing them of their sparkle and efficiency. No one enjoys a home that looks gloomy or neglected.
But fear not! Restoring the shine to your chandeliers, lamps, and sconces is simpler than you might think. This article will guide you through the steps to clean light fixtures effectively. With common household items and a bit of elbow grease, you can make your lights look like new. We’ll cover safety tips, the best cleaning solutions, and how to tackle different types of fixtures. Whether they’re glass, metal, or plastic, you’ll learn how to get them gleaming. Prepare for a brighter home with less effort than you imagined.
Introduction To Light Fixture Care
Light fixtures brighten homes and spaces. Over time, they collect dust and lose shine. Proper care keeps them sparkling and functional. This guide covers the basics of keeping light fixtures clean.
Why Cleanliness Matters
Clean light fixtures improve lighting and ambiance. Dirt and grime reduce brightness. Regular cleaning boosts light quality and fixture life.
Types Of Light Fixtures
Different fixtures need different care. Chandeliers, lamps, and recessed lights each have unique cleaning methods. Knowing your fixture type is key to proper maintenance.
Preparation And Safety
Clean light fixtures brighten up your home. Before you start, prepare with the right tools. Safety is key in this task.
Gathering Your Cleaning Supplies
Start with the basics: a sturdy ladder, soft cloths, and a gentle cleaner. Include a mild detergent and a small brush. Microfiber cloths work great for dusting. For glass fixtures, add a glass cleaner to your list. Remember, the right tools make the job easier and safer.
Safety First: Turning Off Power
Always turn off the power before cleaning your light fixtures. Use your home’s breaker box to switch off the electricity and double-check that the lights are off. This crucial step helps prevent electric shocks, ensuring a safe and worry-free cleaning experience. For more tips, see how to safely clean light fixtures.
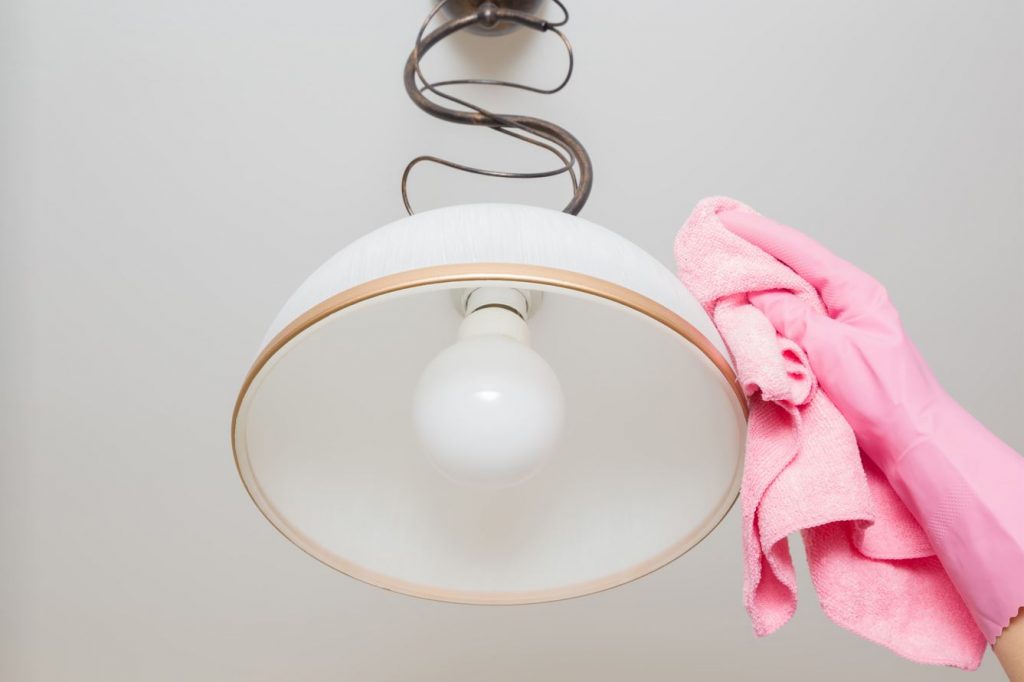
Dusting Techniques For A Sparkling Start
Let’s make your light fixtures shine bright again. A good start? Dusting. Dust gathers everywhere, even on light fixtures. A thorough dusting makes them sparkle. Here’s how to do it right.
Choosing The Right Tools
Start with the right tools. Soft cloths or microfiber dusters work best. They catch dust without scratching. Avoid paper towels. They can scratch surfaces. For high places, use a step stool or ladder. Safety first. Always unplug fixtures or turn off power before starting.
Step-by-step Dusting
First, remove any detachable parts. Clean them separately. Next, gently wipe the fixture. Move from top to bottom. This avoids dust falling on clean areas. For hard-to-reach spots, use a soft-bristled brush. Finally, replace any parts you removed. Enjoy your clean, bright light fixtures.

Credit: nwmaids.com
Wet Cleaning For A Deeper Shine
Wet Cleaning for a Deeper Shine ensures your light fixtures sparkle. Dust and grime dim their glow. Regular wet cleaning restores their brilliance. Follow this guide for shining results.
Mixing Your Cleaning Solution
To start, create a safe, effective cleaning mix. Use household items for this.
- Warm water acts as a base.
- Add a squirt of mild dish soap for grease-cutting power.
- A splash of white vinegar gives extra shine.
Combine these in a bucket. Stir gently to mix without making too many suds.
The Proper Wiping Technique
For wiping, choose a soft cloth or sponge. It should be clean and lint-free.
- Dip the cloth in your solution.
- Wring it out well. The cloth should be damp, not dripping.
- Gently wipe each fixture. Start from the top, move downwards.
- Turn off lights before you begin. Safety first!
- Dry with a fresh cloth to avoid water spots.
This method ensures no streaks and a lasting shine.
Special Care For Different Materials
Cleaning light fixtures keeps them shining bright. Each material needs specific care to avoid damage. Let’s look at how to handle different types, like glass, metal, and plastic.
Glass Fixtures
Glass fixtures add elegance to any space. Start by dusting gently with a soft cloth. For a deeper clean, mix warm water with mild dish soap. Dip a cloth in the solution and wring it out. Wipe the glass parts without soaking them. Dry immediately with a lint-free cloth to avoid water spots.
Metal Fixtures
Metal fixtures vary from brass to stainless steel. Dust them first, then use the right cleaner for the metal type. For most, warm soapy water works well. Apply with a soft cloth and rub gently. Rinse with a damp cloth and dry with a clean towel. For tarnished brass, a little lemon juice and baking soda can help.
Plastic And Acrylic Fixtures
Plastic and acrylic are prone to scratches. Dust off with a microfiber cloth to prevent surface damage. Clean with a mixture of warm water and a drop of dish soap. Use a soft sponge and be gentle. Rinse with a clean, damp cloth. Dry off to keep the shine without any streaks.
Polishing For Perfection
Clean light fixtures make a room shine. Polishing for Perfection is key. Let’s learn how.
Selecting Polishing Products
Right products matter. Choose wisely for best results. Here’s a guide:
- For glass: Use a soft cloth with vinegar and water.
- Metal surfaces: A mild soap and water work well.
- Wood fixtures: Use special wood cleaner for shine.
Always read labels. Safety first.
Polishing Techniques
Technique matters as much as the product. Follow these steps:
- Turn off lights. Safety first.
- Dust fixtures. Use a soft brush.
- Apply chosen product. Use right cloth.
- Polish gently. Circular motions work best.
- Wipe off excess. Use a clean, dry cloth.
Repeat if needed. Enjoy clean, bright lights.
Reassembling And Testing
Once your light fixtures are spotless, put them back together. Test to make sure they shine bright. Simple steps for a cleaner, brighter home.
Cleaning light fixtures can breathe new life into a room. Once every part sparkles, it’s time to put them back together. This final stage is crucial. It ensures everything works and is safe. Let’s walk through the steps of reassembling and testing your light fixtures.
Putting It All Back Together
Begin by laying out all the cleaned components. Make sure you have all the screws and fittings. Start by reattaching the main parts of the fixture. Use the correct screws and don’t tighten them too much. Next, place any glass parts or shades back on. Handle them with care to prevent fingerprints or damage.
Safety Checks And Light Testing
Before turning the power back on, do a safety check. Ensure all wires are secure and no bare wires are exposed. Once everything looks good, restore power at the circuit breaker. Turn on the light to see if it works. If it does not light up, double-check your connections. Bright, clean light should fill the room, proving your effort paid off.

Credit: ajanitorsstory.com
Maintenance Tips To Keep The Glow
Maintenance Tips to Keep the Glow ensure your light fixtures shine bright. Proper care keeps them functional and beautiful. Follow these tips to maintain their sparkle.
Regular Cleaning Schedules
Set a routine to wipe light fixtures. This prevents dust build-up. Clean monthly for best results.
- Turn off lights before cleaning.
- Use a soft cloth to dust.
- Apply cleaner suitable for the material.
- Polish with a dry cloth after.
Addressing Humidity And Dust
Combat moisture in rooms like bathrooms and kitchens. Humidity causes rust and dulls fixtures.
- Use a dehumidifier to reduce air moisture.
- Regularly clean vents to minimize dust.
- Choose fixtures designed for damp areas.
Credit: www.destinationlighting.com
Conclusion
Keeping your light fixtures clean doesn’t have to be tough. Regular maintenance keeps them shining bright. Dust off first, then wipe with a damp cloth. For deeper cleans, disassemble if needed and use gentle cleaners. Always turn off power before you start.
This routine keeps fixtures looking great and working well. Simple steps, big difference. Your lights will thank you with a warm, inviting glow. Remember, a little effort goes a long way. Happy cleaning!
Leave a Reply